
Installing the Power Supply!
The power supply is perhaps the easiest component to install!
The only tools needed for this step are the anti-static wrist strap and the screwdriver!
It is recommended that you take a look at your PC case and/or the manual first to become comfortable with how to open it. This is important for placement of all parts,
and you will want to know how to open it as well as any other features it may have.
Click any images on this page to open them in a separate tab/window for better viewing.
Steps:
- Open your case using the thumb screws (or whatever method the case is closed with). Slide open the side. Each case is different, so make sure you refer to the manual or explore your own!
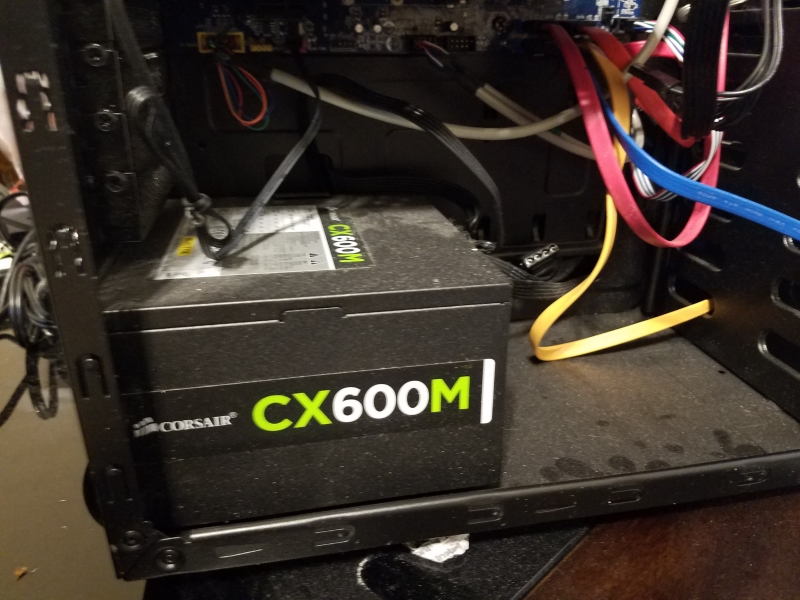
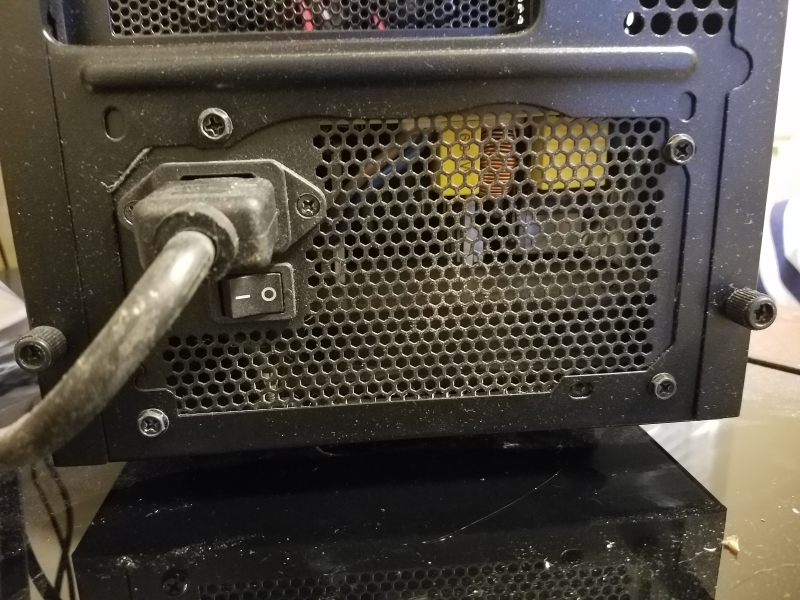
- Place the power supply in your case. This will be wherever there is a large rectangular cut-out, the size of the power supply. It may be at the bottom or the top of the case, against the "floor" or "ceiling". (See right side image) Do not block the intake fan on the unit. If your case has vents at the bottom for the unit, place the fan down, unless you plan on having your PC on the floor on carpet. Otherwise, place the fan facing the inside of the case.
- Once the PSU (Power Supply Unity) is in place, use the supplied screws and the screwdriver to secure the PSU. The screws come with the PSU. (See left side image)
- You are done when your PSU looks like mine!